12‑Foot Outdoor Bar
Renter‑Friendly Freestanding Design – No Drilling Required
📏 Length: 12 ft
📐 Depth: 14 ½ in
📍 Height: 42 in
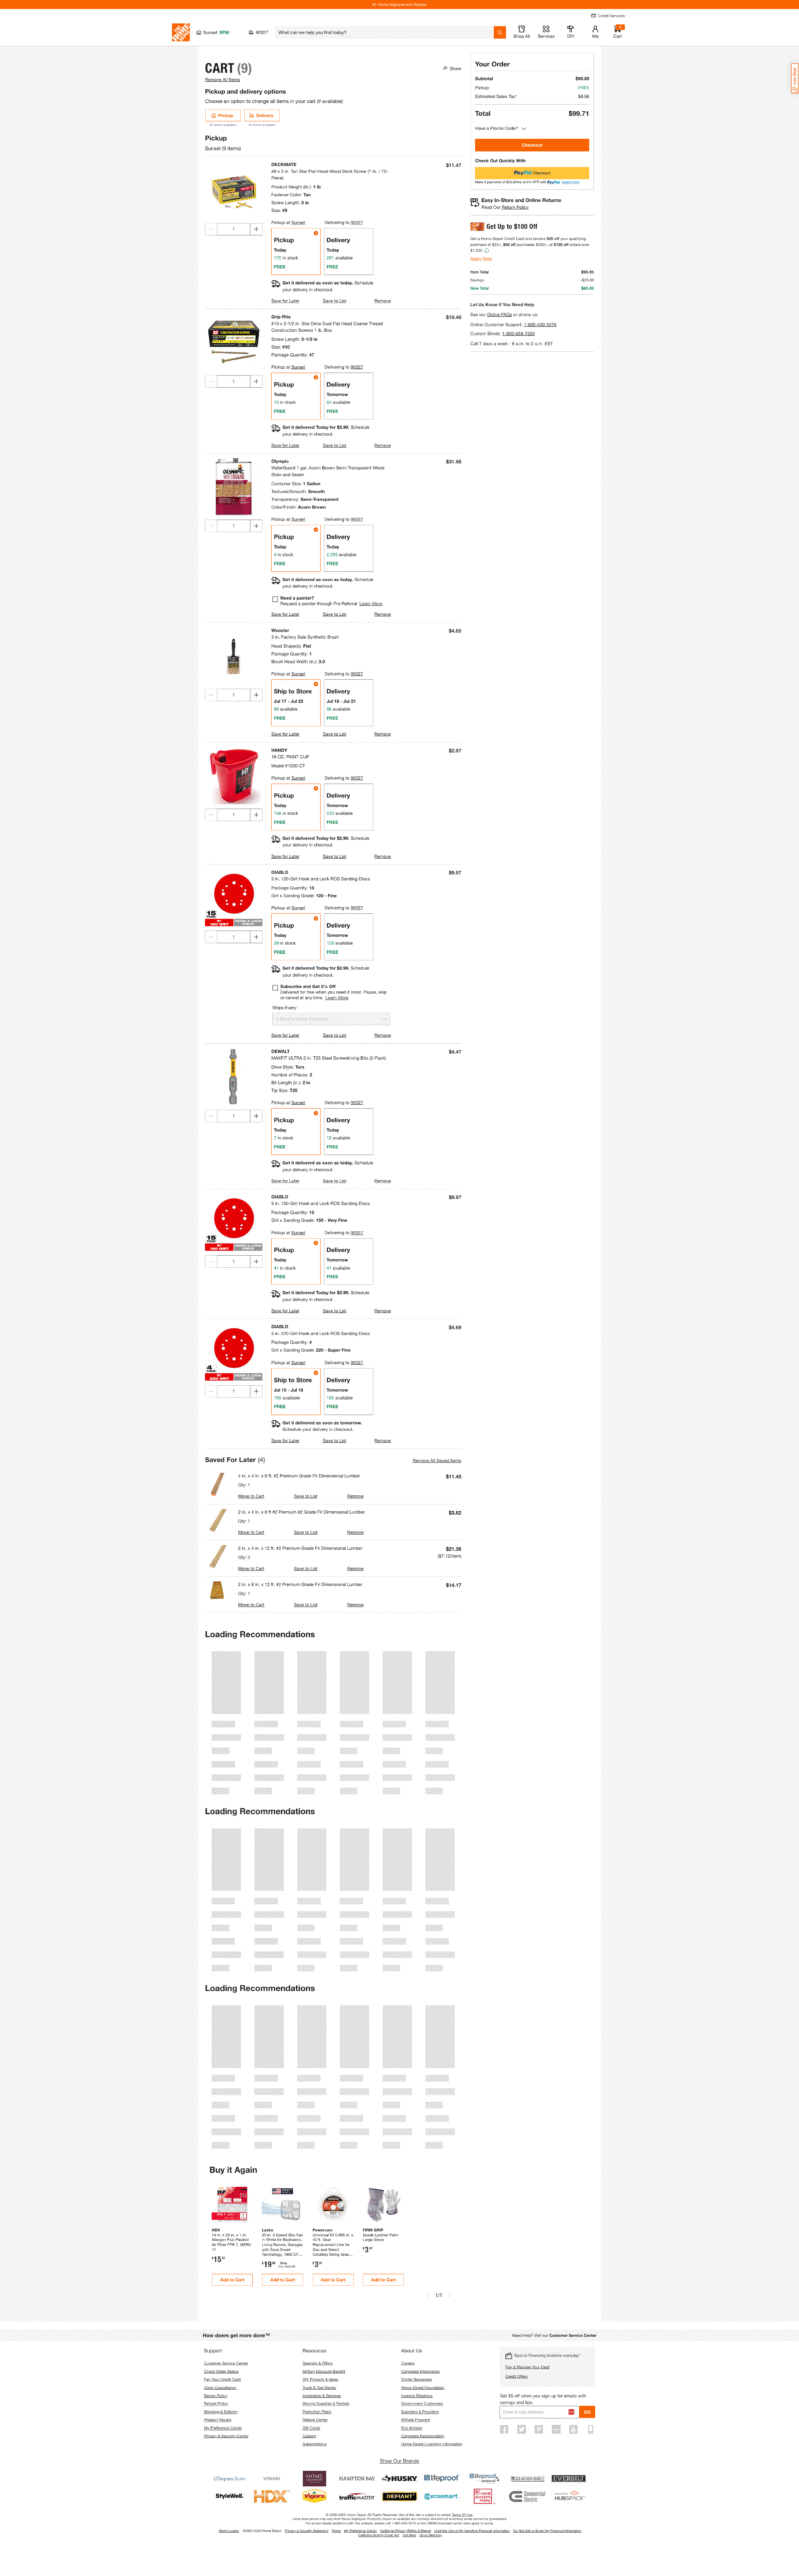
Complete Shopping List – Home Depot
Lumber
Fasteners & Hardware
Finishing Supplies
Essential Tool You Need
Tools You’ll Use
4 ft Level – NEW purchase
Circular saw + speed square
Drill/driver (with ⅛ in bit & T25 bit)
Long clamps (≥ 2)
5″ orbital sander
Bosch grinder
Tape measure
Pencil & sharpie
Parts Identification Legend
Each piece is labeled – reference these letters in every step:
A1‑A4: 4 × 4 legs, 42 ½ in
B: Front top rail, 12 ft 2 × 4
C: Back top rail, 12 ft 2 × 4
D: Front foot rail, 12 ft 2 × 4
E1‑E3: 14 in blocks E4‑E5: 16 in 45° kickers
F1‑F2: 2 × 8 bar‑top boards, 12 ft
Full Cut List
| Label | Source Board | Cut Length | Qty | Purpose |
|---|---|---|---|---|
| A1‑A4 | 4 × 4 × 8 ft | 42 ½ in | 4 | Legs |
| B | 2 × 4 × 12 ft | (full) 12 ft | 1 | Front top rail |
| C | 2 × 4 × 12 ft | (full) 12 ft | 1 | Back top rail |
| D | 2 × 4 × 12 ft | (full) 12 ft | 1 | Front foot rail |
| E1‑E3 | 2 × 4 × 8 ft | 14 in | 3 | Blocking pieces |
| E4‑E5 | 2 × 4 × 8 ft | 16 in (45°) | 2 | Kickers |
| F1‑F2 | 2 × 8 × 12 ft | (full) 12 ft | 2 | Bar‑top surface |
💡 Beginner Tip
Label each piece with painter’s tape right after cutting.Assembly – Part 1 (Steps 1‑3)
1
Position & Plumb Legs (A1‑A4)
Mark the concrete along the fence at 0 ft, 4 ft, 8 ft, and 12 ft. Stand each leg (letter facing forward) on those marks.
- Use the 4 ft level on the front face of A1. If the bubble drifts, slip a cedar shim under whichever corner fixes it.
- Repeat on the side face, then on A2‑A4.
- They do not need to be perfect – within ¼ in is plenty.
⚠️ Don’t skip shimming
Poorly plumb legs translate into a tilted bar top that will slide drinks.2
Attach Front Top Rail (B)
- Clamp B flush to the top of A1‑A4 on the front faces.
- Check level from A1 to A4.
- Predrill two ⅛ in holes through B into each leg, 1 in from top edge & 2½ in below.
- Drive eight 3 in screws.
3
Attach Back Top Rail (C)
Repeat Step 2 against the fence side using rail C, keeping it flush with leg tops.
Assembly – Part 2 (Steps 4‑6)
4
Install Foot Rail (D)
- Measure 12 in up from concrete on each leg front and draw a line.
- Clamp D so its top edge aligns with that line.
- Predrill and drive eight 3 in screws – two per leg.
5
Add Blocking (E1‑E3)
Stand each 14 in block between rails B & C with top edges flush.
- Position E1 at 2 ft, E2 at 6 ft, E3 at 10 ft from the left end.
- Screw through rails into block ends (2 screws per end, 12 total).
6
Install Kickers (E4 & E5)
Kickers stop the bar from rocking forward.
- Place E4 at the 4 ft leg: long point on rail C, short point on a solid fence stud ≈ 16 in above.
- Predrill through both ends and fix with 3 in construction screws (2 per end).
- Repeat with E5 at the 8 ft leg.
💡 Removal later
Back screws out and the kickers lift free – no marks left but two small holes in the fence stud.Assembly – Part 3 (Steps 7‑8)
7
Attach Bar‑Top Boards (F1 & F2)
- Lay F1 & F2 flat, edges touching, centered front‑to‑back.
- Clamp the pair together to keep the seam tight.
- Starting at the left, pre‑drill every 24 in along rails and blocks (one screw line per board).
- Drive 3 in screws – approx 24 total.
⚠️ Face‑screwing tips
Angle screws slightly toward center of the rail to reduce risk of splitting.8
Sanding & Staining
Sanding
- Grinder: knock sharp corners off legs & top.
- Orbital sander: 120‑grit over entire top until smooth; wipe dust.
- Switch to 180‑grit; quick pass for buttery finish; wipe again.
Staining (after PT lumber dries ≈ 7 days)
- Stir stain – do not shake (bubbles).
- Brush a thin coat with the 3″ brush, following grain. Keep wet edge.
- Wait 10 min, then back‑brush drips.
- Optional second coat after 2 h for richer color.
- Light use after 24 h; full cure 72 h.
💡 Disposal
Lay stain rags flat to dry before trash – prevents spontaneous combustion.Done! 🥂
Kick back and enjoy your new outdoor bar. Removal is as easy as undoing the fence screws and walking it away.